
Have you ever thought, making kimchi is a hard and long process? Well you’re right about one thing. It’s a long process but it isn’t hard at all! Everytime I would watch one of my favorite Kpop groups make kimchi on a variety show, it looked like a ton of work. I always thought to myself “oh wow there’s no way i could make kimchi like them”. I feel ashamed because I’m a professional cook but oh was I so wrong! All it took was cross-referencing several different recipes and making my own recipe to my liking. This is a four part series as I will show you how yo do different kinds of kimchi, so be on the lookout for those articles too. Alright, enough backstory. Let’s get to the recipe!
Ingredients
Yield: 8 Pounds
For salting cabbage:
6 pounds (4 heads) napa cabbage
½ cup Kosher salt
Porridge Recipe:
2 cups water
1 cup sweet rice flour
1/2 cup white sugar
Vegetables:
2 cups radish matchsticks
1 cup carrot matchsticks
10 cups green onion, chopped
½ cup garlic cloves (24 garlic cloves), minced
2 teaspoon ginger, minced
1 medium onion, minced
1/2 cup fish sauce
4 cups hot pepper flakes (gochugaru)
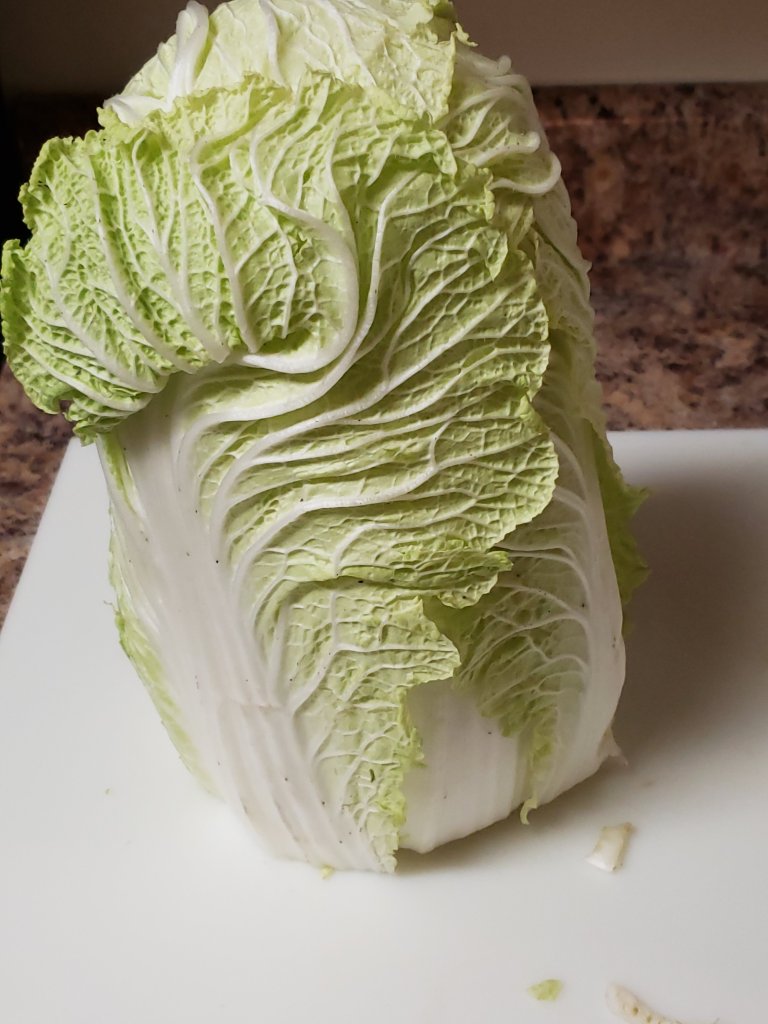
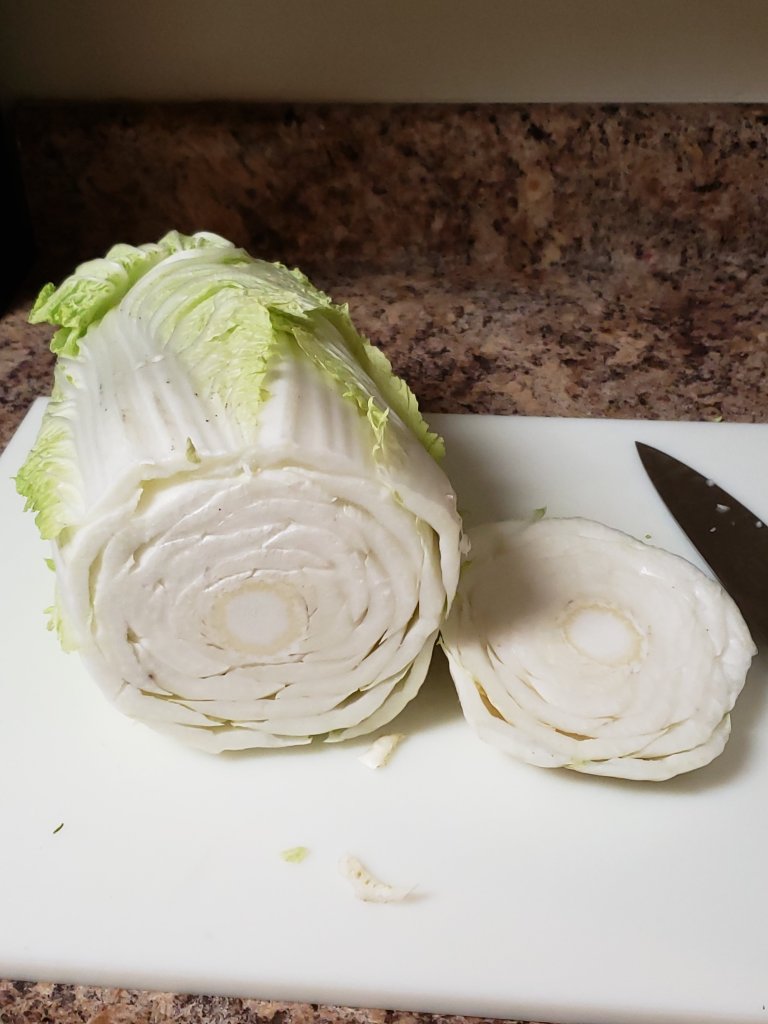
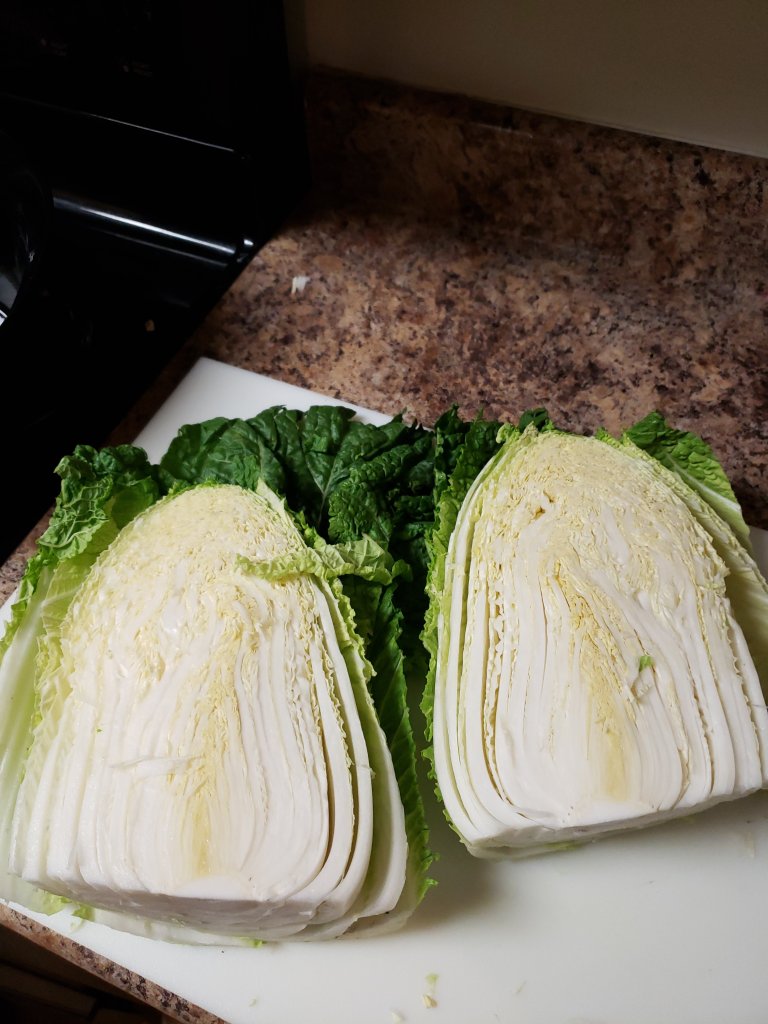
Cutting the Cabbage

Soaking the Cabbage
After you have cut the Cabbage into fourths then use your sink and fill it with cold water. If your water isn’t cold enough, you can always add ice cubes to bring down the temperature. Next, you will soak your four pieces of cabbage in the water for 30 minutes.
Salting the Cabbage
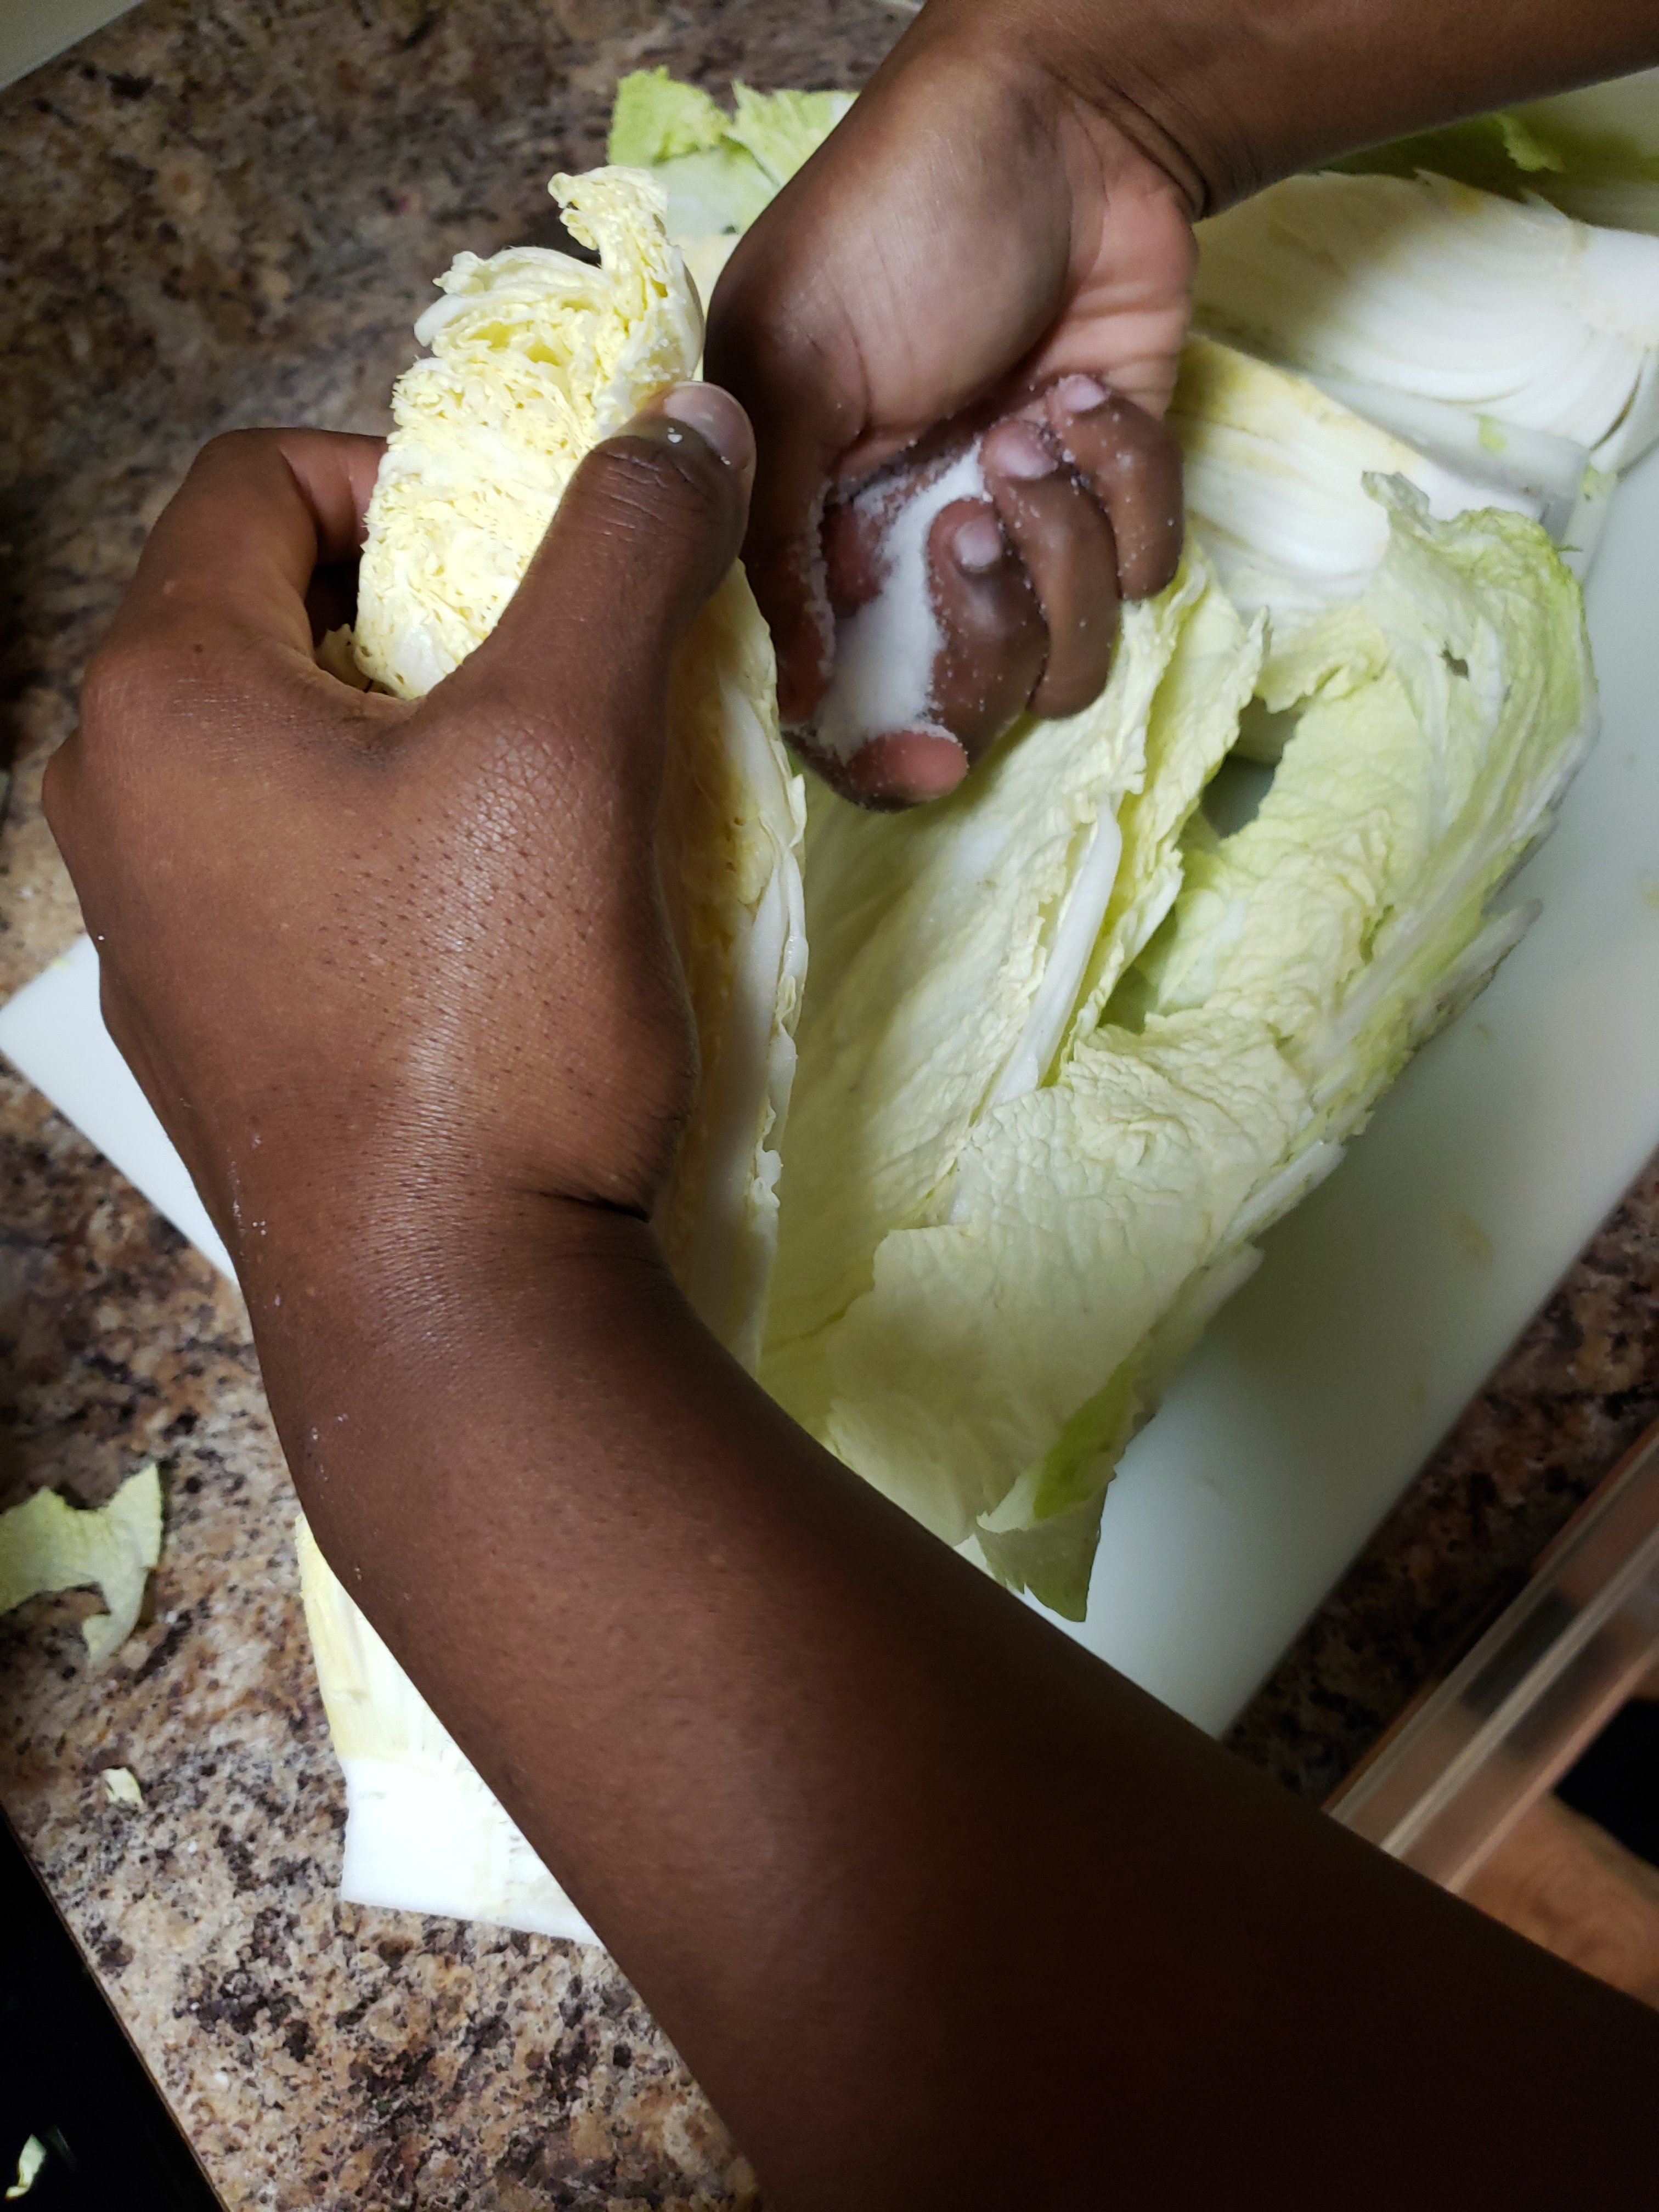
After soaking your cabbage for thirty minutes, carefully take them out and shake off the excess water. Then you will open each layer of cabbage without tearing it, putting a good amount of kosher salt in between each layer of cabbage. I just start off with a handful of kosher salt and make sure I cover the whole surface area of each leaf. Make sure to put a good amount of salt towards the stem since it’s thicker than the leaves. It doesn’t have to be a lot, because kosher salt is stronger in saltiness versus table salt (idolize salt). After you have salted all four pieces of Cabbage then set them aside in a container. Let the Cabbage marinate for at least 2 hours. Every 30 minutes make sure to turn the Cabbage so the salt can irritate the cabbage into releasing more water.
Making the Rice Porridge
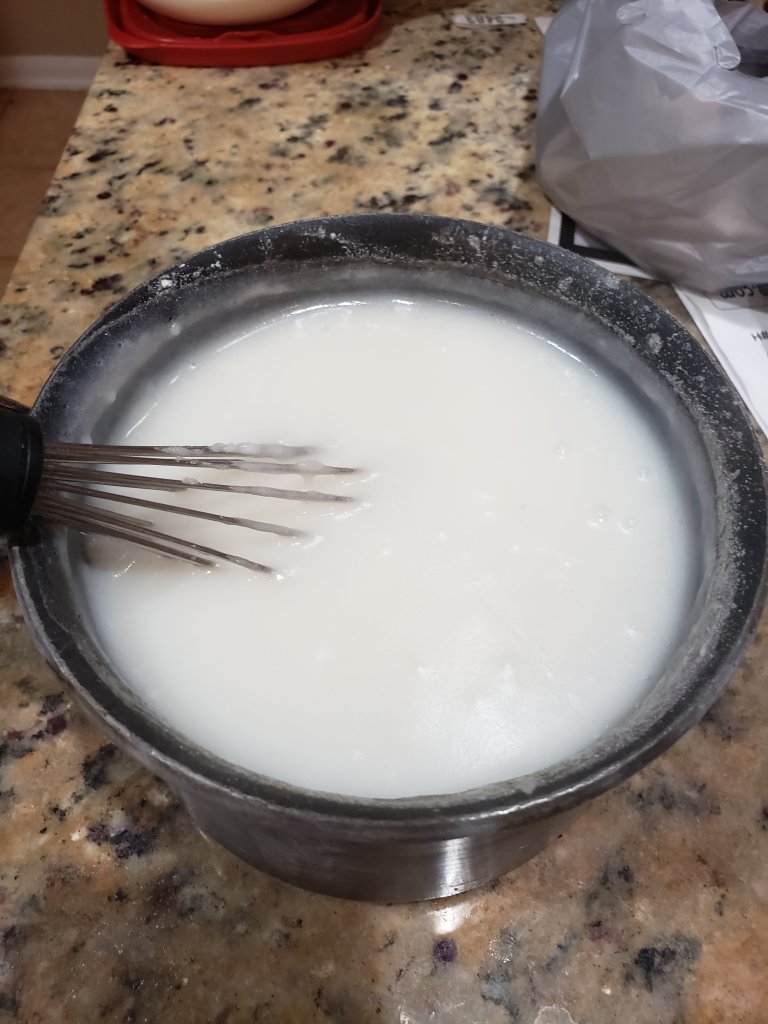
During the salting process you can start your rice porridge. Add your rice flour and water into a pot stirring it until all the lumps are gone. Set your burner to medium heat and stir occasionally for about 8 minutes or until you see bubbles forming. After this you can add your sugar and cook for an additional 2 minutes. Lastly remove from heat and cool down the rice porridge to room temperature.
Cutting your vegetables
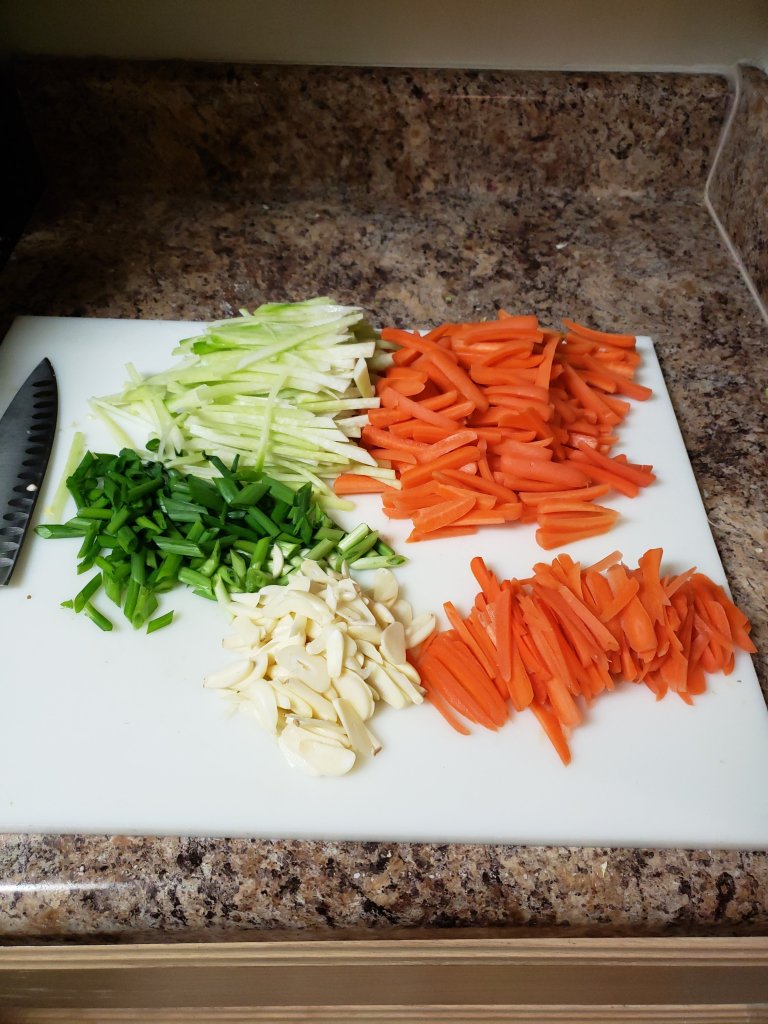
While your Cabbage is resting start thinly slicing your garlic, green onion, carrots, and korean radish. You can cut your vegetables by hand or on a mandoline. You can cut your vegetables thicker than I did if you want to, they will just take longer to soak up the kimchi paste. The great thing about making kimchi is that you can put any vegetable you want in there, for me I love green onion and bean sprouts so I always add a lot of both. Kimchi is so versatile, so take out or add whatever vegetables you like.
Washing the Salted Cabbage
After you have let your Cabbage rest for 2 hours, next you can rinse the salt off of the cabbage. It will take about 3 to 4 rinse cycles to get all the excess salt off. Don’t worry if the Cabbage still tastes a bit salty, this will mellow out when you start making your kimchi.
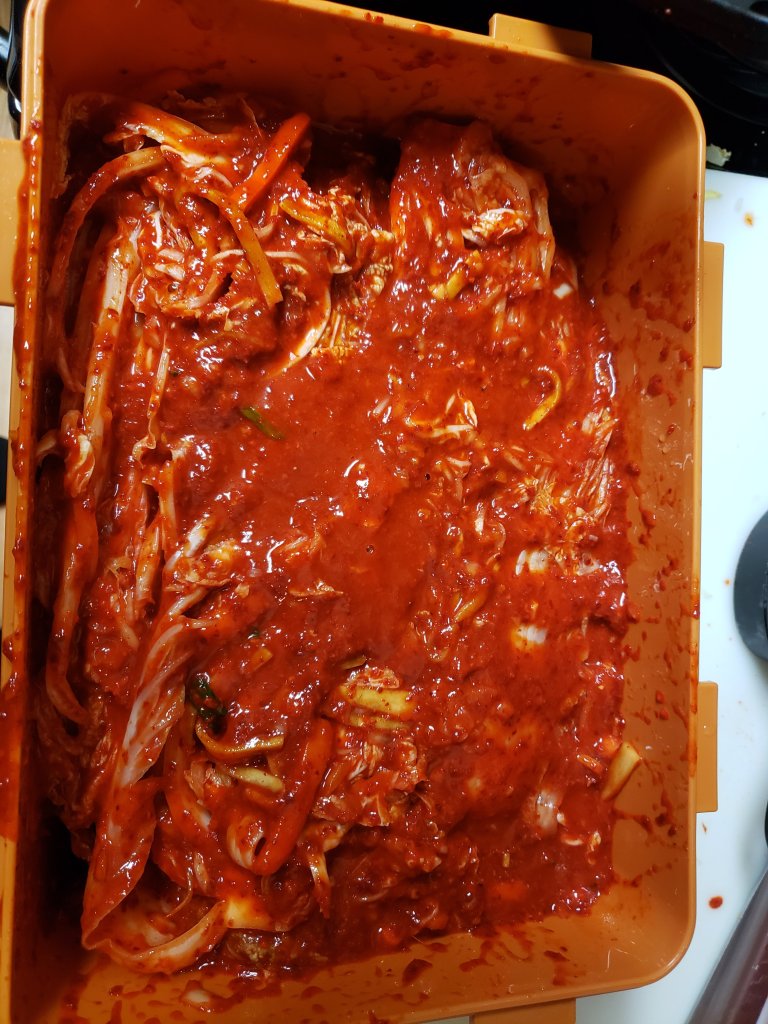
Making the Red Pepper Paste
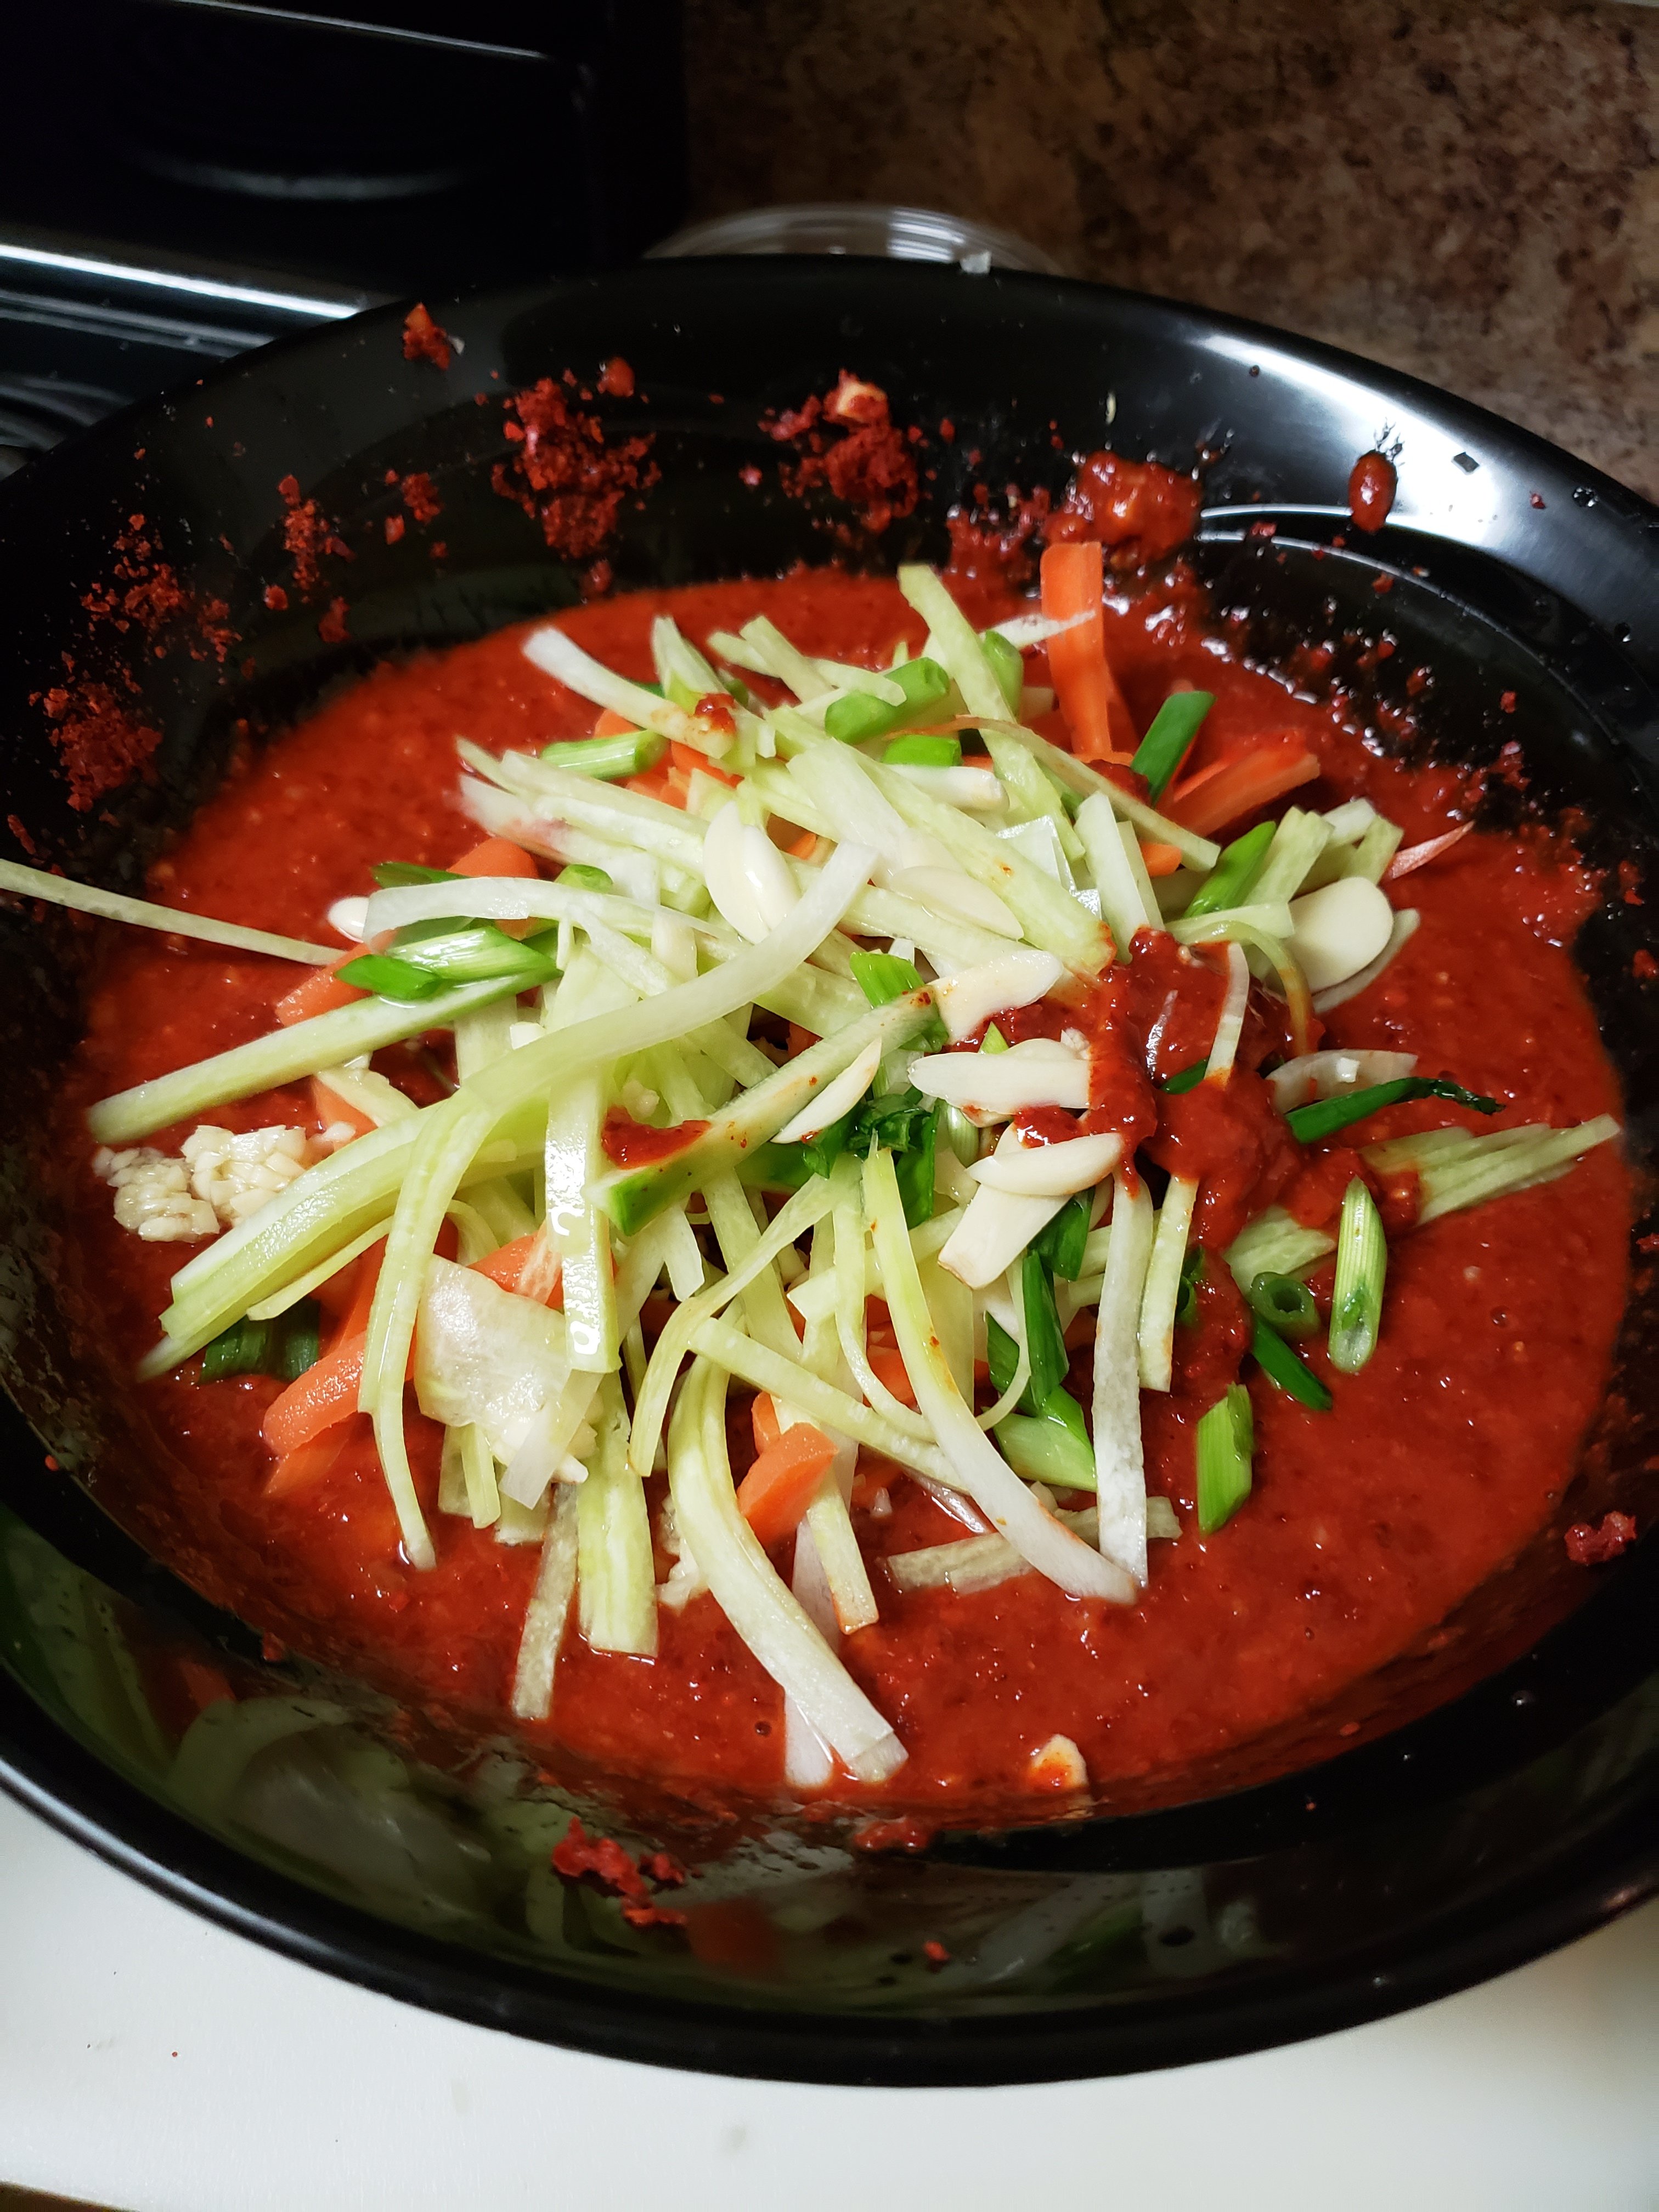
Take your ginger (fresh or paste), chopped white onion,chopped garlic, and fish sauce then put them in a food processor or blender and blend until it becomes a paste. If you dont have a food processor or blender then you can just chop your vegetables into a small dice and it will work the same as the paste. After making your paste in a mixing bowl add your onion paste, red pepper flakes, and your cooled rice porridge and mix until homogeneous. This red pepper paste is on the spicy side, so if you aren’t a fan of spicy food, then you can reduce the amount of red pepper flakes. There are variations of kimchi that have fermented or salted seafood like shrimp, squid, and oysters mixed into this step. Personally I don’t put any seafood into my kimchi because I want it to have a longer shelf life, but there are many recipes out there if you’re interested in adding seafood to make it more authentic. Lastly, you will add all your sliced vegetables to the Red pepper paste and mix until it is incorporated.
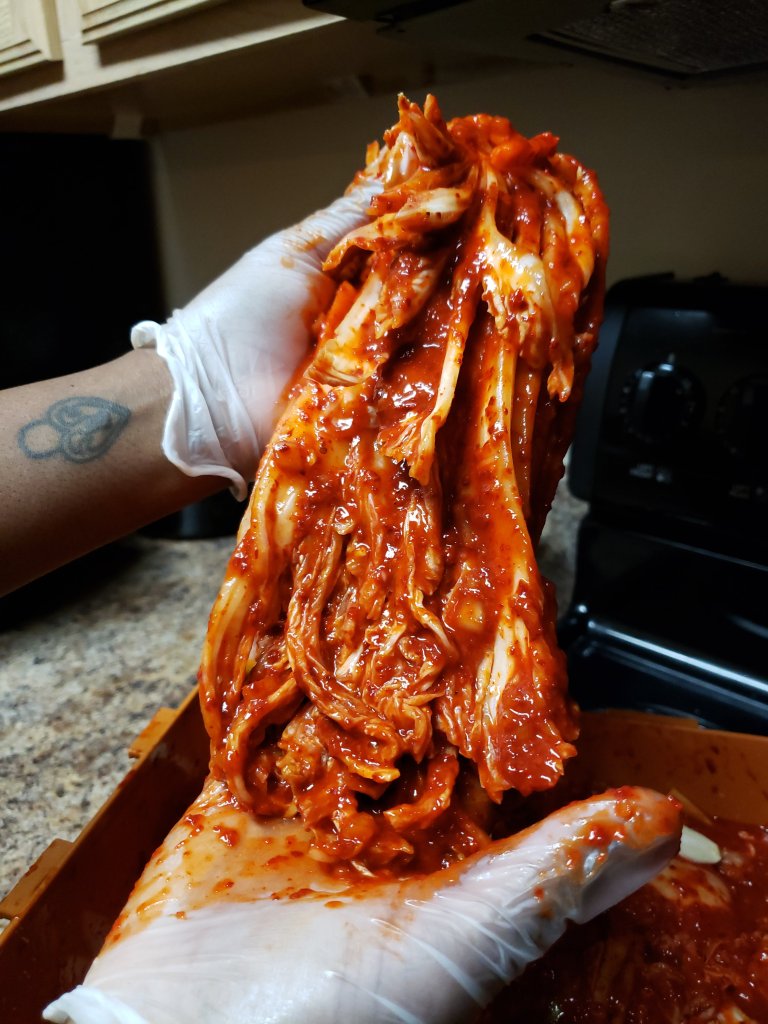
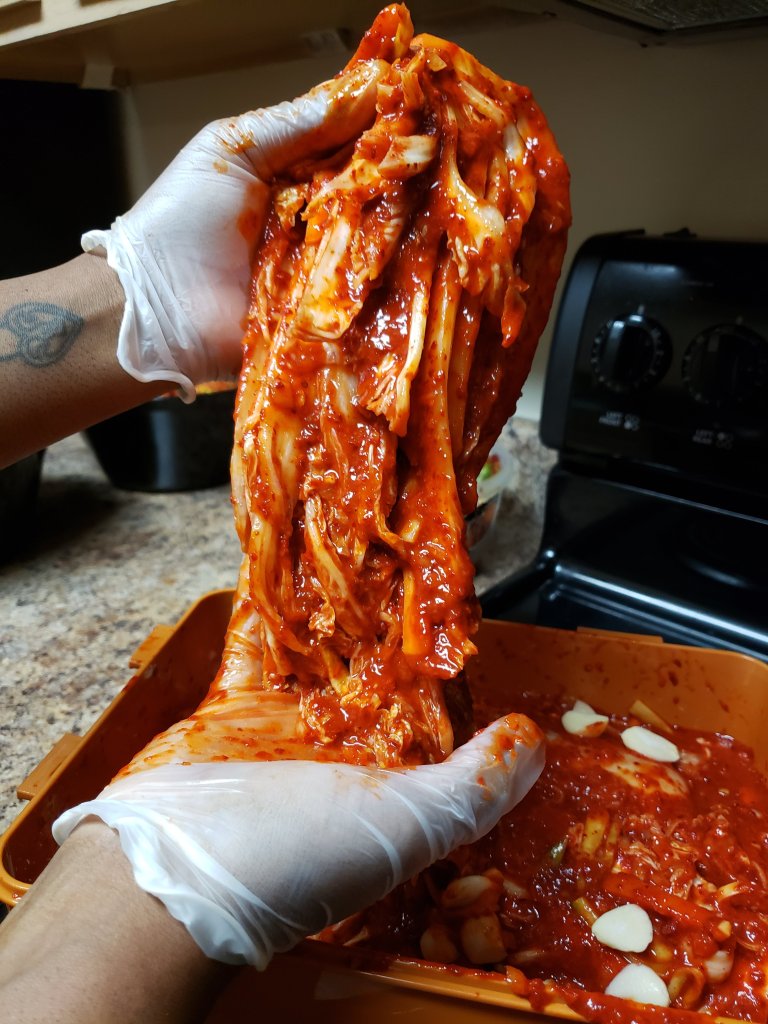
Assembling your Kimchi
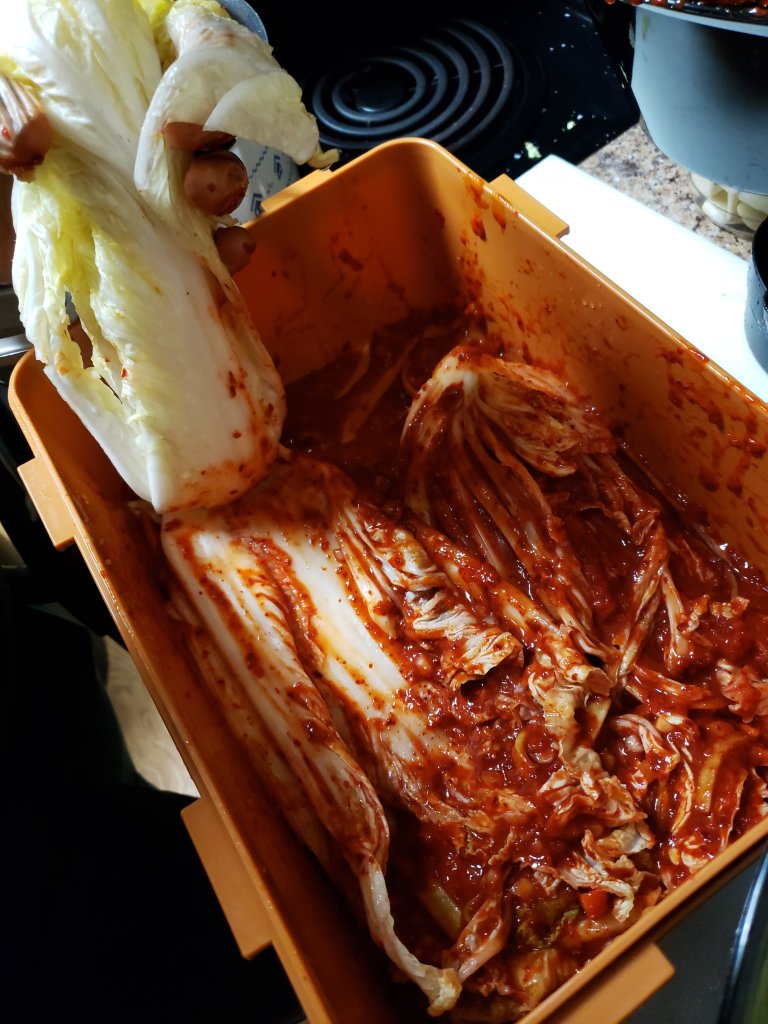
Okay, this is the easiest part of the whole process. Assembly. Grab the container you want to use to store your kimchi and add a thin layer of paste to the bottom to get started. Think of this process like putting a Lasagna together, putting your noodles down with sauce, meat, cheese, and toppings. Simple right? Lay your first piece out Cabbage down and start from the outside leaves of the Cabbage. In between each layer coat each leaf with your kimchi paste and move on to the next layer. Make sure to really get the paste in the stem/core of the Cabbage. After you’re done with your first piece, then just repeat the process with the other 3 pieces. Easy.
Storing your Kimchi
Make sure you have an airtight container for your kimchi, so no extra oxygen can get into the container and cause your kimchi to mold. Your container will expand over time from the built up gases from the fermentation process, so just make sure you release the gases every once in a while. You can buy a kimchi container like I did at your local Asian supermarket (ex: Hmart, 99 Ranch, etc.) Or if you’re on a budget then a regular plastic food container from Walmart will work just as well too.
Ready to Serve!
As soon as you’re done covering your Cabbage with the kimchi paste. You’re finished! You can immediately eat it with any dish you would like, just cut the amount of kimchi that you want and store the rest in the fridge. If you prefer a sour kimchi then you can leave a small amount out in a container at room temperature for 3 to 4 days and it will ferment quickly. If not, then make sure you keep your kimchi under refrigeration, this will allow it to slowly ferment. I find that my kimchi stays fresh 3 to 4 months from when I first made it. At that point it is on the sour side but I believe that’s when the kimchi tastes the best, and the leftover juice and sour kimchi make for a great kimchi jjigae (stew).
Kimchi Novice No More!
Making kimchi is as simple as can be! Now that you know how to make this Traditional Korean side dish, you can make many variations of kimchi that closely follow this recipe. We are done with Part 1 in our four part kimchi series, where next I will introduce my favorite kind of kimchi. Super delicious and Super Simple. Thanks for reading! Stay tuned!
